Cloudmaker Technologies Whieout DNA/Screen Repair-Replacement Guide
First, start by pulling out your LiPo Battery Power wires
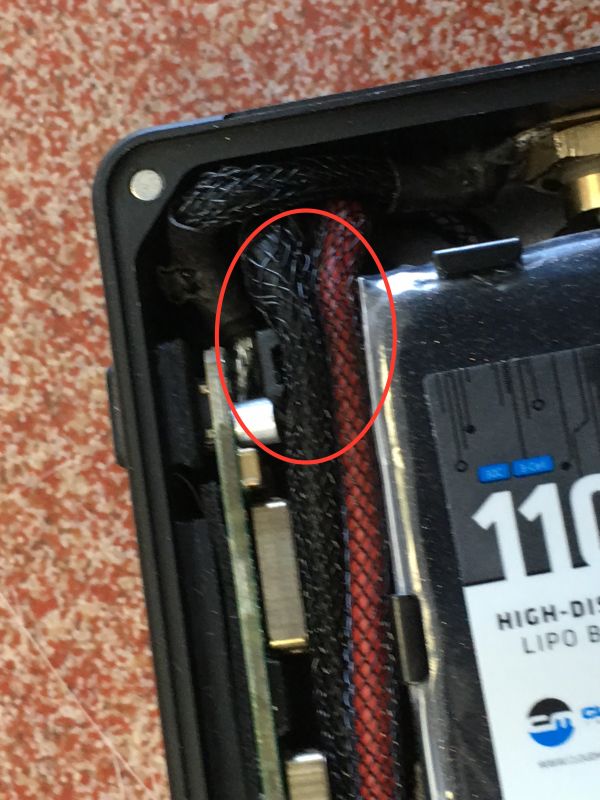
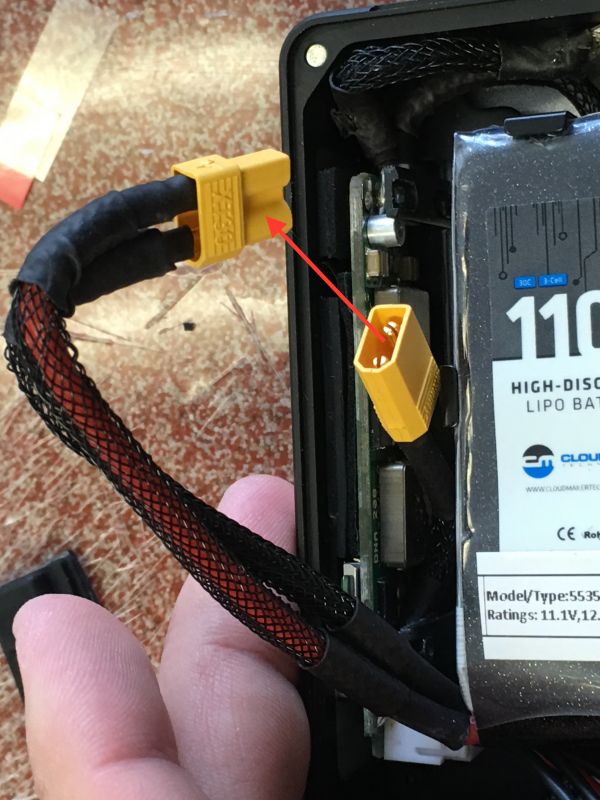
Using a light pulling pressure, pull the XT-30 connector apart to disconnect.
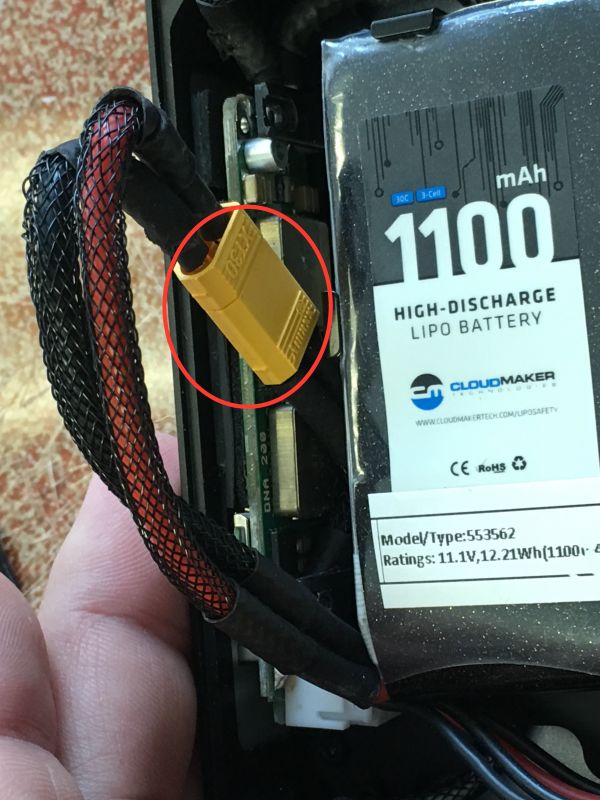
Disconnected.
Lets start replacing the broken screen now, remove your button panel.
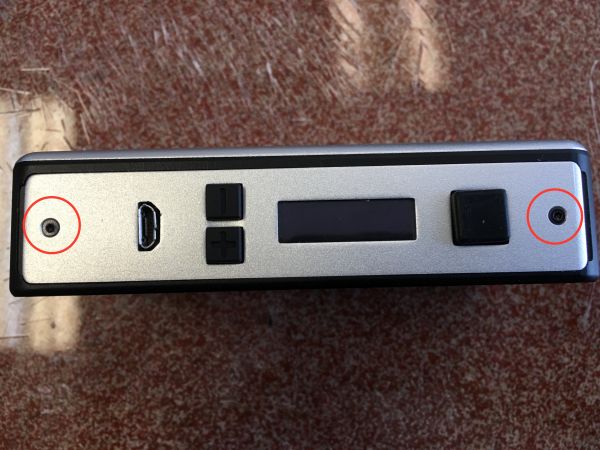
Button panel removed.
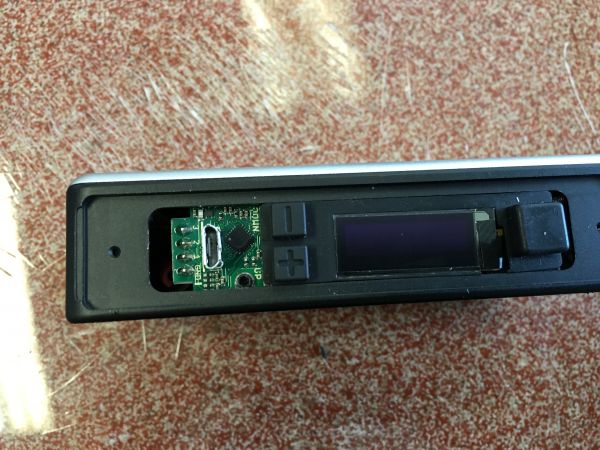
Carefully pull the buttons out of the chassis.
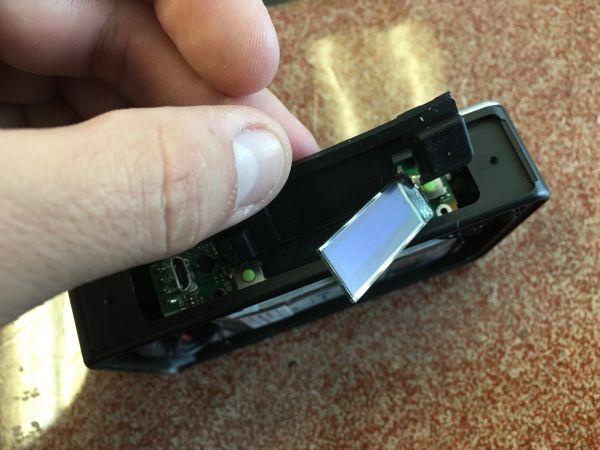
Your buttons may look like one of these, to adjust for Evolv's newer screens that are slightly larger, we will need to make a small modification.
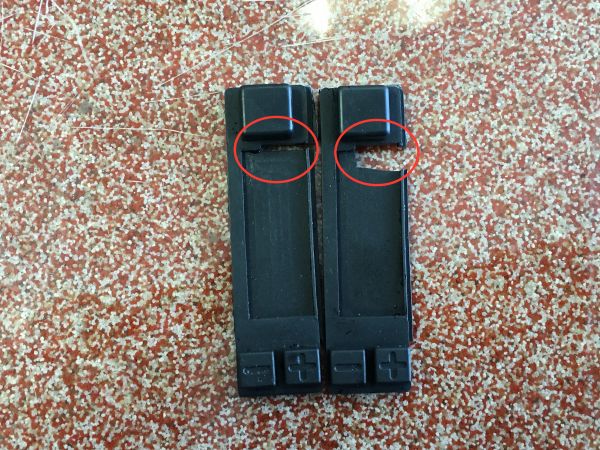
The circled button hole is how it should look after modification for the larger screens.
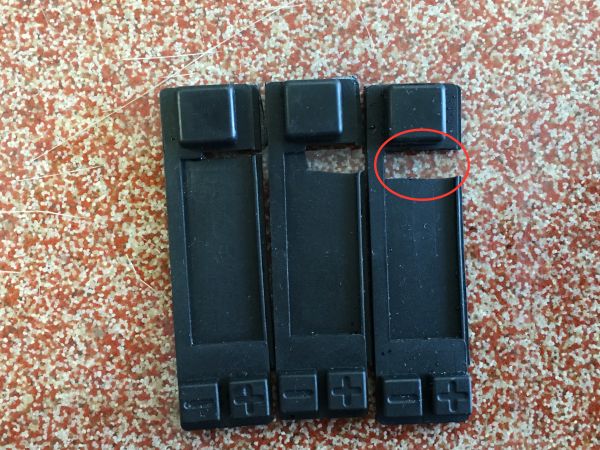
You can use a knife or razor, to simply slice a small section off of the buttons as circled.
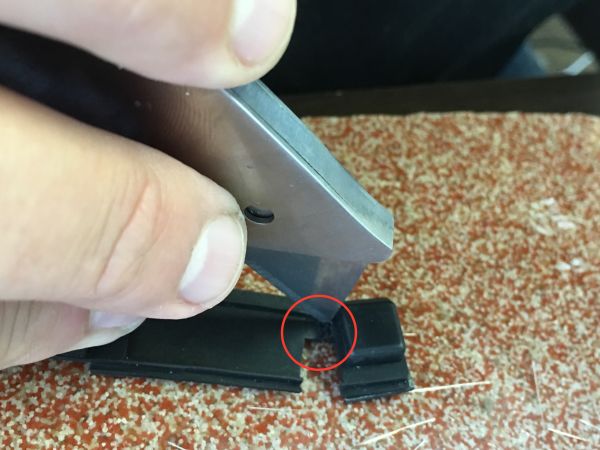
This is the final result, just removing a small section to make a slightly larger rectangle.
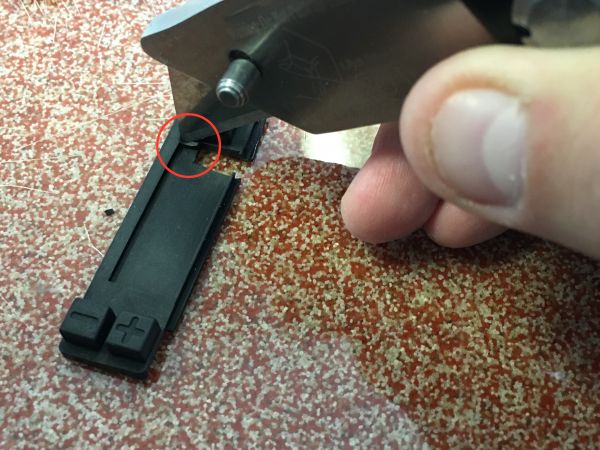
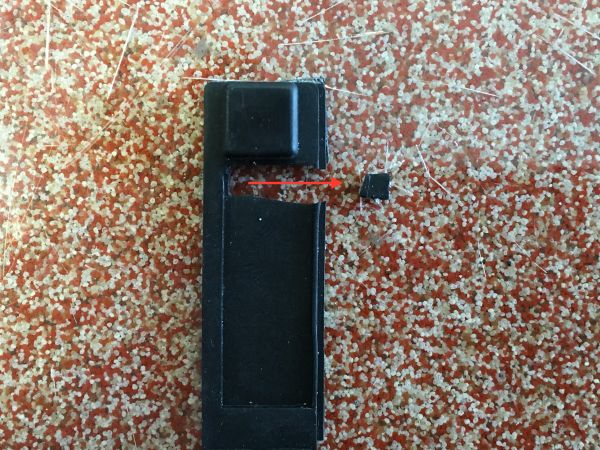
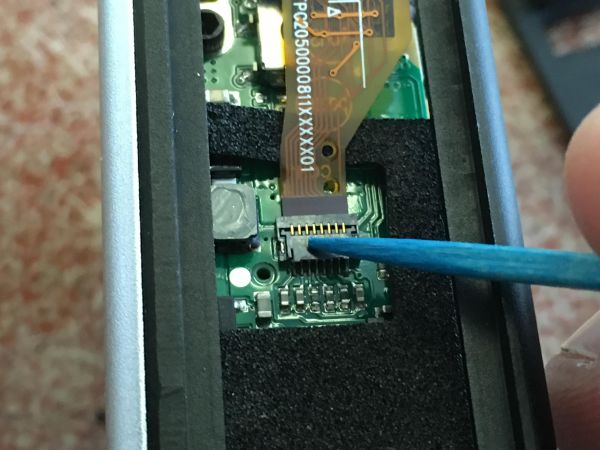
Now it is time to remove the bad screen, start by lifting the latch on the zif connector up with a toothpick.
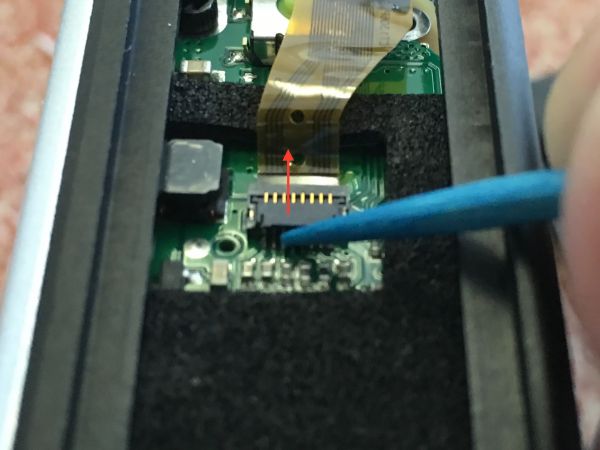
Once lifted, use the toothpick in one of the holes to lightly pull the ribbon cable out.
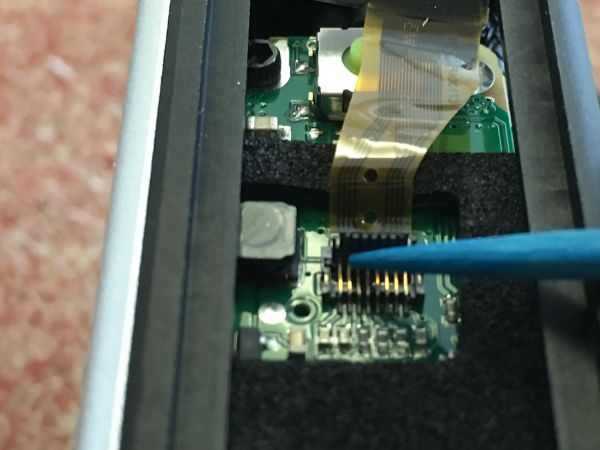
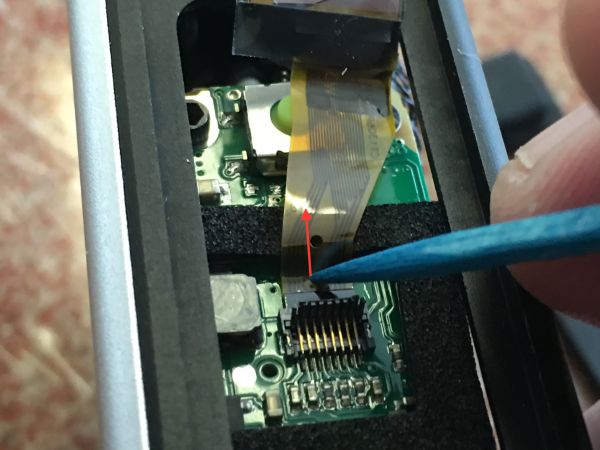
Ribon cable removed.
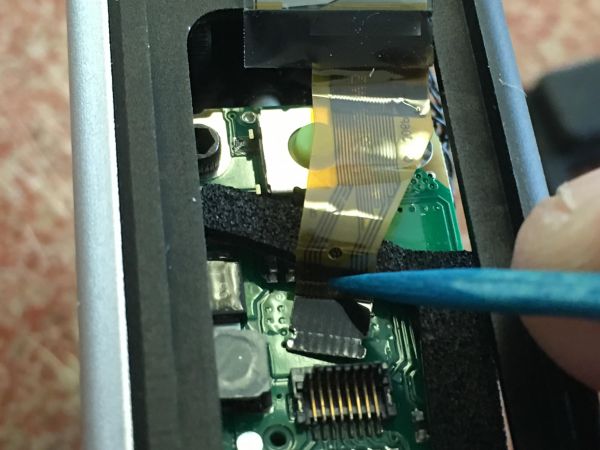
Double sided tape will help you sit your screen in place.
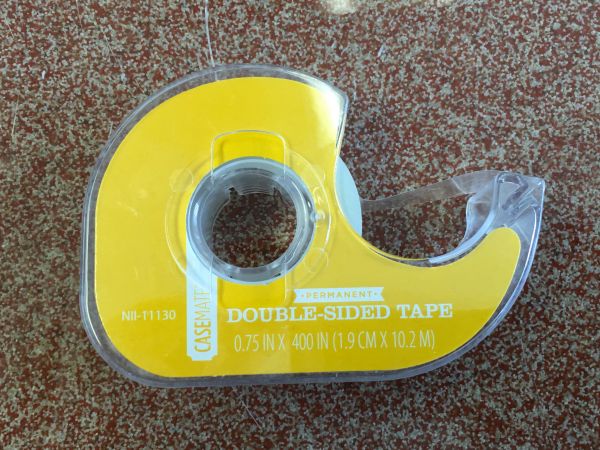
Just a small piece on the back of your new screen (not necessary, but makes this easier).
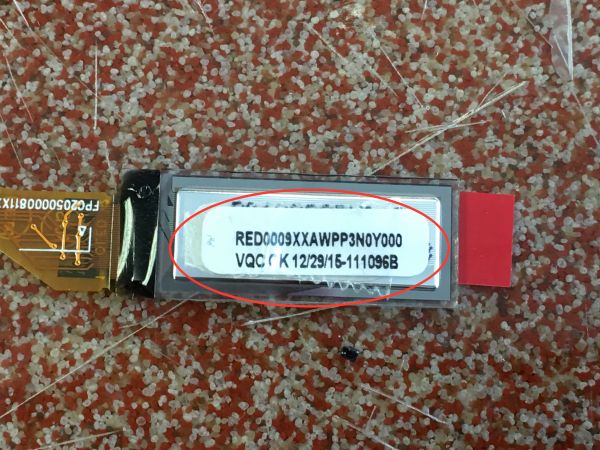
Now lets insert your new screen.
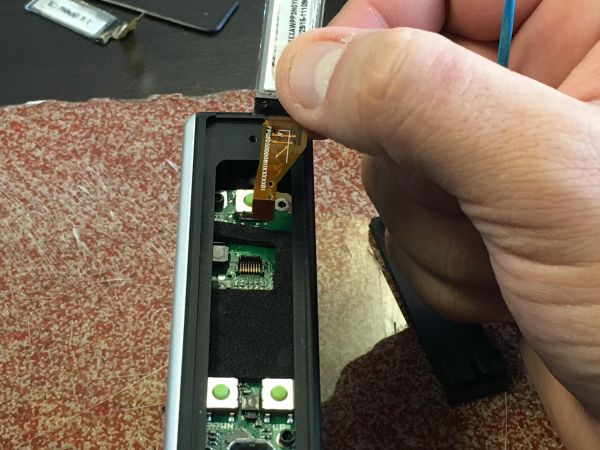
Just like before, insert the ribbon cable using the toothpick in the ribbon cable's hole
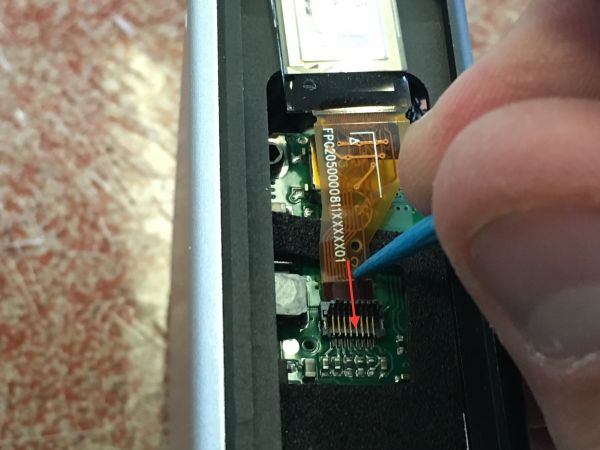
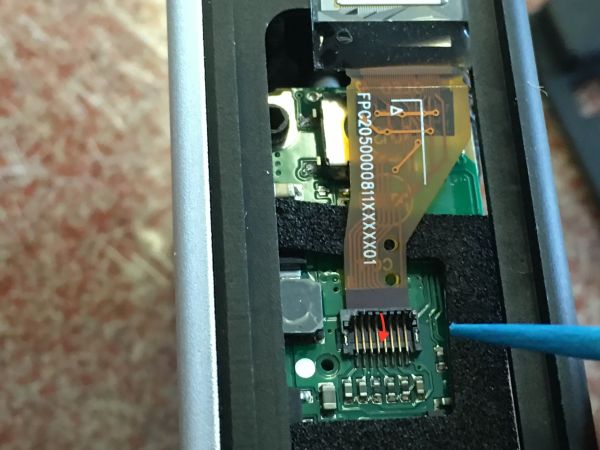
Here is what it looks like inserted, now close the zif connector
Place the buttons back around the screen's ribbon cable, and prepare to insert them into the chassis.
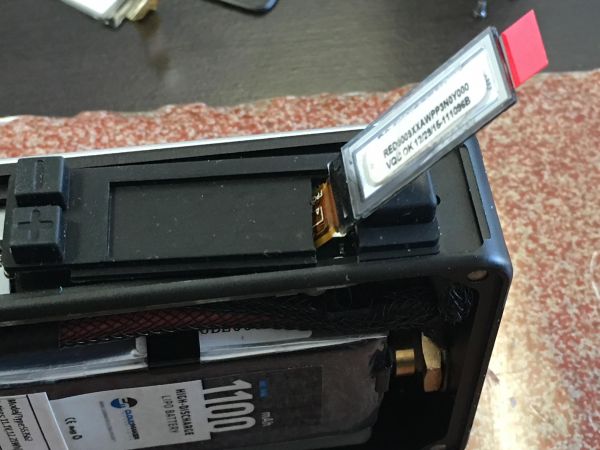
press the screen into place on the buttons.
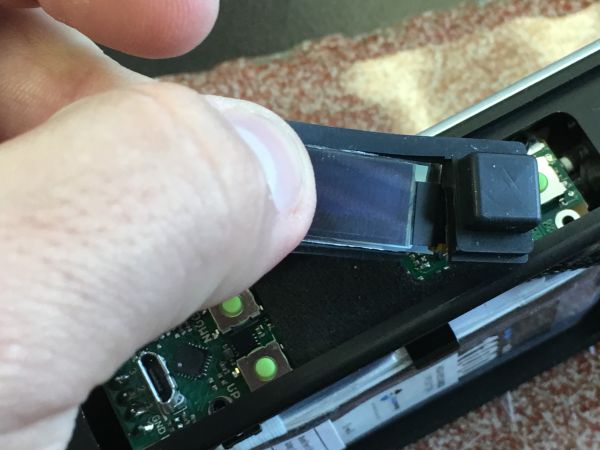
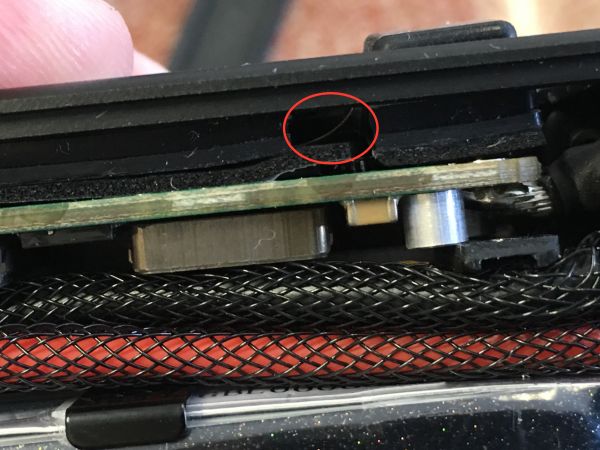
Using a toothpick, make sure the ribbon cable bends towards the screen, NOT TOWARDS THE FIRE BUTTON (this can break your screen again).
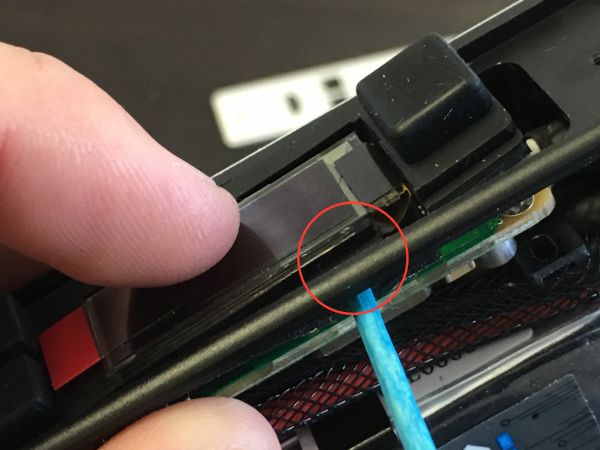
Side view of using the toothpick to place the ribbon cable
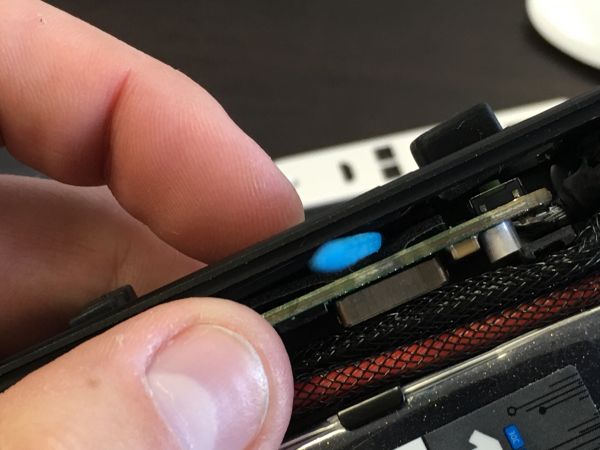
This is how the ribbon cable should look once the buttons are inserted
You can reconnect the power and make sure your screen turns on at this point if you'd like
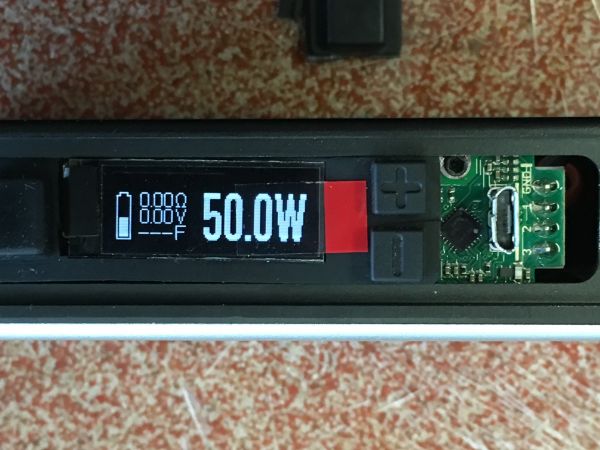
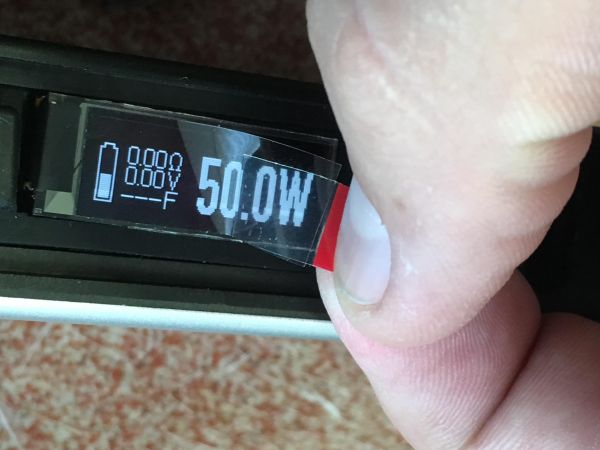
Remove the screen protector tab.
Replace your button panel and you are good to go! Happy Vaping!
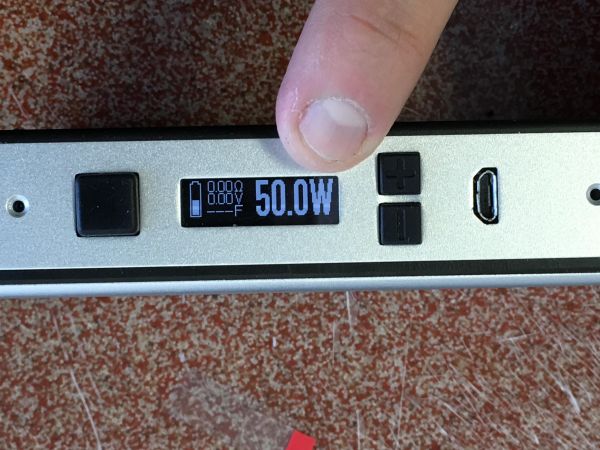
This guide will help you replace your Whiteout DNA screen with Evolv's new larger DNA200 screens.